
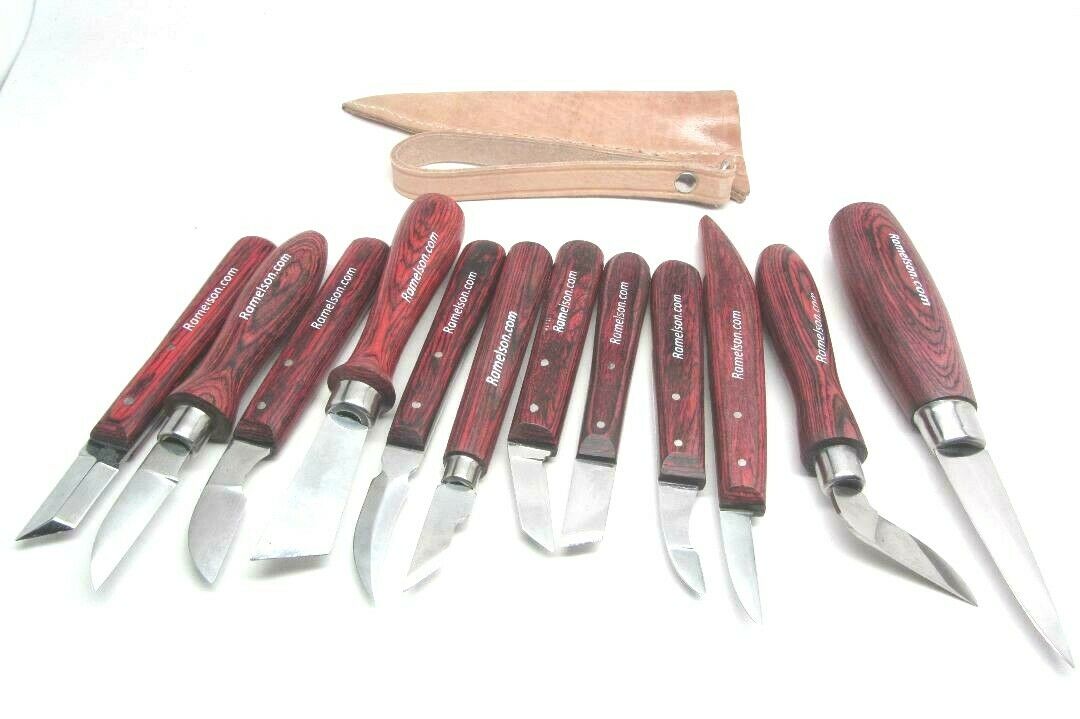
You might be unsure where to start if you are a beginner woodcarver. Here are some tips for your first woodcarving project.
Dog
If you are an aspiring woodcarver, you will definitely benefit from the numerous free dog wood carving patterns available online. These patterns will assist you in carving your dog's face in a variety sizes and styles. Here are some tools that will be needed to carve your dog. You will need a bandsaw, coping or chisel, a mallet and some time for sharpening. Once you have these tools, you can start carving.
Eagle
Native Americans have long held the bald Eagle as a symbol for strength, courage, and knowledge. It was approximately 20 inches in diameter and five inches wide. The eagle is still a popular choice for wood carvers. There are many different wood options available for eagle carvings. This article will show you some of the most common wood carving styles.
Bear
Carving a wood bear is very simple. There are a few distinct lines and shapes. Each line carries more weight. For extra visual interest, the front paws of bears are angled towards the legs to add interest. A book that shows beginners how to carve a bear is a good choice if you are new to wood carving. James Miller's book shows the entire process.
Elephant
An elephant wood carving adds character and beauty to any home. 1stDibs carries 56 antique wood elephants as well as two contemporary pieces. These pieces date back to the 19th century and have gained popularity in recent years. You can choose from Art Deco, Mid-Century Modern, and Folk Art styles, or you can select a smaller piece to add a subtle touch to your home decor.
Moose
A moose is a wonderful animal to wood carve, whether you are looking to add antlers and/or create a stunning moose head. Dowels can hold moose antlers or paddles. These will need to be pushed in and possibly glued in place. Then you can paint or color the moose with a walnut gel stains.
Template for moose
A template for carving moose helps carvers create realistic-looking carvings. Moose carvings are easy to paint and stain with walnut gel stain. After you've learned the basics it is simple to carve this creature. For the final touch, add details like fur and eyes with a brush or a typhoon bit on a die grinder. For beginners wood carvers looking to carve an animal, the Moose template will work well.
Bear template
To begin a bear wood carving, you'll need a template. You can then use a Dremel instrument to examine the wood features. Stop cuts can be made to separate the legs and the lower body using this tool. To indicate where the legs will split, you could also make small V-cuts. The underbelly can be rounded after the ear and leg pieces are completed. To shape the bear further, make sure you leave a little space at the rear.
Eagle template
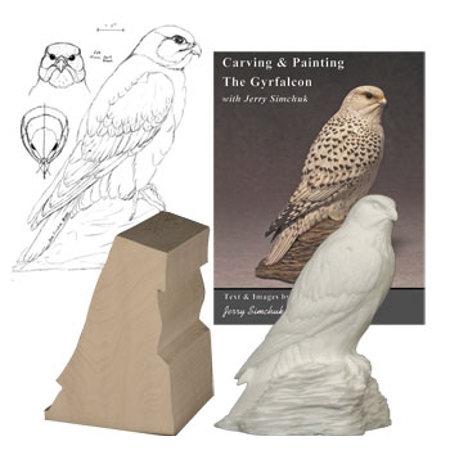
Three detailed templates are required to carve an eagle. The first template is used for carving. The second template will serve as a working paper template. It will be cut to create transfer patterns. The third template is for reference. Next, use the tools to cut the main lines of your template. Cut the lines so that they are close to the pattern. Make sure that you align all of your marks.
Template for mice
For those who are new to wood carving, there are many options. This task will be easier if you use a template. You can also download patterns to assist you. If you are a beginner, you can start with a simple pattern. You can then move on to more complex patterns as you learn. Once you are comfortable with the basics, you can move on to the next step: creating the perfect mouse.
FAQ
What's the time taken to finish a piece furniture?
It depends on what size piece of furniture you have. A smaller project like picture frames or boxes can be completed in a single day. Larger projects such as tables and desks can take several days to complete. It takes time and effort to properly stain the wood.
What woods are suitable for making furniture?
Woods are classified according to their hardness. Softwoods include cedar, pine, cedar, and Cypress. They're often used for outdoor furniture because they don't rot easily. Hardwoods include oak, maple, mahogany, and teak. They can't withstand the elements outside so they're best kept indoors.
What's the difference between plywood vs particle board?
Plywood is made up of layers of wood pressed together under pressure. Plywood comes in several thicknesses and is commonly used for cabinets and flooring. Particle board is made from sawdust mixed with resin and then compressed into large blocks. It is used primarily for home improvements. Both boards can be cut easily and are both durable.
Statistics
- Most woodworkers agree that lumber moisture needs to be under 10% for building furniture. (woodandshop.com)
- If your lumber isn't as dry as you would like when you purchase it (over 22% in Glen Huey's opinion…probably over 10-15% in my opinion), then it's a good idea to let it acclimate to your workshop for a couple of weeks. (woodandshop.com)
- In 2014, there were just over 237,000 jobs for all woodworkers, with other wood product manufacturing employing 23 percent; wood kitchen cabinets and countertop manufacturing employing 21 percent. (theartcareerproject.com)
- Average lumber prices rose about 600 percent between April 2020 and May 2021. (familyhandyman.com)
External Links
How To
How to make wood joints
This tutorial will show how to join 2 pieces of wood together. We will use the pocket hole joint, which is drilling holes in the wood to join them. This method is great if your wood's straight and smooth. You might consider dowel joinery if your wood isn’t straight or flat. Here are the steps
-
Drill Pocket Hole Joints. Start by measuring and marking the spot where the pocket hole joint will be placed. Then drill 3/4 inch deep holes into the ends of each piece of wood using a jig saw or handheld drilling machine.
-
Sand Smooth. You can sand the edges of the wood to ensure that it doesn't split.
-
Glue Together. Apply glue to both ends of the wood. Allow it to cool for at least 5 minutes before you attach the pieces.
-
Fix the Pieces together. After the glue has dried thoroughly, secure the pieces so that they are flush.
-
Trim Joinery. Trimming the joinery after glue has completely dried.
Make sure to leave enough room between the pieces so that you can turn them inside and out.