There are a few steps you should follow when installing a faceplate. These include selecting the right dimensions, screw sizes, and material. Once you have all of these factors down, it's time to install your face plate. Continue reading to learn how to install your face plate. It will be simple to install and allow your lathe's functionality to continue as normal. Listed below are the steps to installing a face plate.
Dimensions
The faceplate can be used as a primitive accessory to hold almost any shape. Faceplates can be made from lightweight alloys, temporary materials, or wood. These faceplates have a limited use and are suitable for workholding duties that require a lot of effort. If the faceplate is made of wooden, the workpiece can attach to it using screws. This arrangement is common in industrial lathes, but not in home workshops.
It is vital to determine the dimensions of the faceplate. The faceplate should be exactly the same size as your blank. If you are planning to use the faceplate for multiple purposes, ensure that they will not interfere with each others. You will also find a hole that can be used as a drill bit on the faceplate. The faceplate should have slots to accommodate a tommybar and holes for an adjustable wrench. For each tool, it is possible to browse the faceplate.
Material
A lathe faceplate can be made from many materials, such as aluminum, cast steel, steel and welded constructions. Consider the different properties of each material when designing a faceplate. Below are some considerations for choosing a faceplate material. Specific material properties are important to ensure precision and durability in the design process. For cost optimization, it is also important to consider the materials that will be used on a faceplate.
The faceplate of a lathe is usually made from a polymeric material with a cylindrical surface. It is usually made with indicia marks, a planar front face, and recesses for the chucking workpiece. Some faceplates feature fasteners embedded in inserts in a contrasting colour. This is to alert the user in the event that a fastener might become loose.
Screw size

Consider using a smaller screw size if you have a wood lathe. Because your screw size will affect the space available for your threads, A larger diameter screw can cause damage to the wood bowl and protrude beyond your faceplate. A slightly concave or convex faceplate might be appropriate depending on the dimensions of your lathe.
There are many options for faceplates, including steel or alloy. The smaller versions are made from an alloy while the larger are made from steel. The faces of the alloy can become damaged over time. Experienced turners also know how to mount their blanks to keep them from getting too loose and prevent them being turned. On the other hand, beginners may be too cautious with their tools or attempt to turn a blank too big for their tools.
Installation
Before installing the faceplate to your lathe, turn off the power source. Next mount the faceplate to the workpiece. Turn the spindle clockwise to turn the faceplate. Once the faceplate has been placed, engage the spindle lock. Now turn the faceplate clockwise to make it move freely. Disengage the spindle locking mechanism by turning the lathe counterclockwise until the faceplate stops.
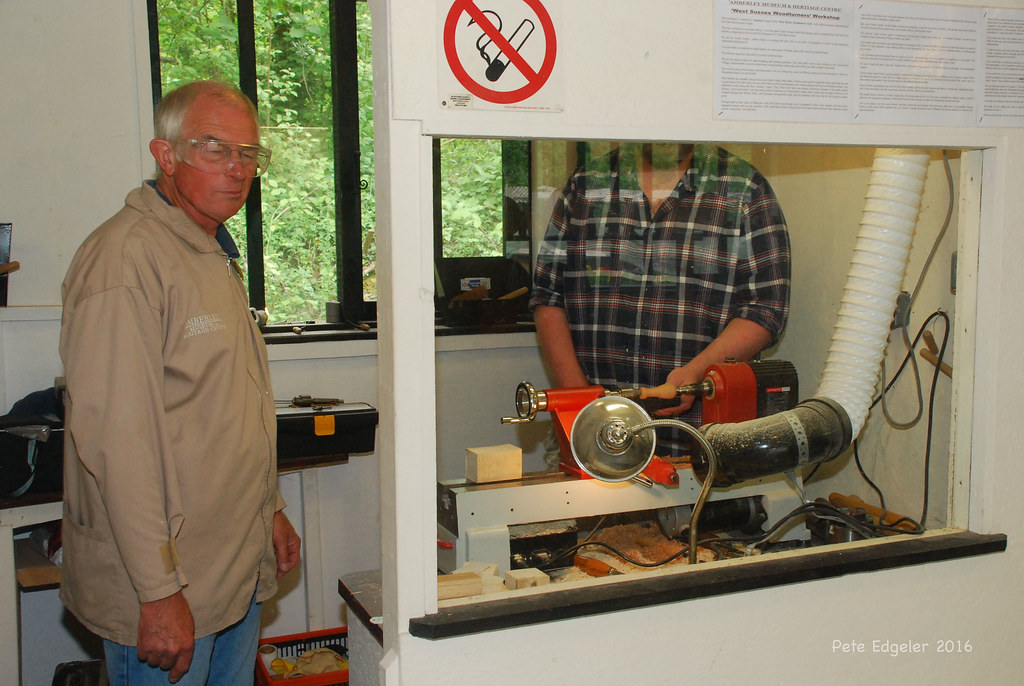
A faceplate can be described as a flat, round, and threaded plate located on the front end of a lathe. Its slotted surface accepts clamps and other fastening devices. After the workpiece has been placed on the faceplate it can be secured by either sliding the clamps into the slots or directly screwing them into the threads of the faceplate. Once the workpiece has been positioned, it is attached to the lathe spindle.
FAQ
Where can I locate free woodworking plans
To find free woodworking plans, you don't have to buy any magazines or books. You just need to search Google. Simply type "free woodworking” into the search box and you'll find hundreds of websites that offer free plans.
How much do hobbyists need to invest in starting a business?
A lot of capital is required to purchase the necessary supplies and tools if you want to start your own woodworking shop. A good place to start would be by buying a small table saw, drill press, circular saw, jigsaw, and sanding machine. These items aren't very expensive, so you won't break the bank.
Where can I begin with woodworking
You can learn the most effective way to build furniture by actually building it. While you will need tools, mistakes are inevitable, but you will learn the ropes if you persevere.
First, choose a project you would like to complete. It can be something as simple and small as a box, or large-scale as an entertainment center. Once you have chosen a project, locate a local woodworker who is skilled in this kind of work. Ask them for their advice about the tools and where they can be found. It's possible to ask your friend if they do this type of work.
Statistics
- The U.S. Bureau of Labor Statistics (BLS) estimates that the number of jobs for woodworkers will decline by 4% between 2019 and 2029. (indeed.com)
- In 2014, there were just over 237,000 jobs for all woodworkers, with other wood product manufacturing employing 23 percent; wood kitchen cabinets and countertop manufacturing employing 21 percent. (theartcareerproject.com)
- The best-paid 10 percent make $76,000, while the lowest-paid 10 percent make $34,000. (zippia.com)
- Most woodworkers agree that lumber moisture needs to be under 10% for building furniture. (woodandshop.com)
External Links
How To
Tips for driving a nail in wood
It is essential to pick the right size and style of hammer before you can drive a nail in wood. The most commonly used types of Hammers are claw hammers. Each type of hammer comes with its advantages and disadvantages. For example, a claw hammer works best when you want to hit something hard, like nails; however, it's difficult to control precisely where the blow lands. The sledgehammer works well for large areas, but is too heavy for smaller tasks.
Place your hand flat on the side of your chosen hammer so that the handle rests in your palm. Take the handle and hold it with both hands. But don't press down so hard you injure yourself. Your wrist should be relaxed while you hold the hammer straight upwards. Now, move the hammer towards the center of the nail by swinging it back. You should feel the impact from the hammer striking a nail. If you're having trouble getting the hang of swinging a hammer, practice with a block of wood until you get the rhythm down.
Once you are ready to drive the nail, place the hammer close to your body. To ensure that the nail is perpendicular on the surface of the wooden floor, position it. Keep your eyes focused directly on the tip of the nail. Move the hammer forward and then continue to move the hammerhead. This can be repeated several times to increase the speed of your swing. When you are confident with the technique, add power to your swings. Try holding the hammer above your shoulder and bring it down forcefully. You will be able to use more energy and put your best foot forward.
After you have nailed the hole, take the hammer off the nail. To remove the remainder of the nails, you can use a screwdriver/pry bar. Keep the nail heads parallel to the board's surfaces in order to avoid splitting wood.