Beginners should learn the basics of woodturning before they attempt more complicated projects. Beginners should start by turning a simple project, such as a handle for a hammer. To get started, beginners can do several smaller projects. However, the more experienced woodworker can progress to more complex projects once they have learned the basics. Listed below are some of the basic techniques and tools used in woodturning.
Spindle turning
A square blank is the first step in creating a spindle. The roughing gouge can be used to attach the blank to the tailstock or headstock. Use a caliper for measuring the blank until it has the required diameter. Next, use a parting instrument to adjust the spindle to achieve the desired diameter. Then, measure the diameter of each section and move the tool rest into the appropriate groove until it reaches the desired size.
Woodturning can be an exciting hobby. However, it is also a safe and enjoyable pastime. There are many techniques that work for spindle production as well as safe turning. The knowledge gained from these techniques can be applied to many projects. This article will not cover all aspects of woodturning safety but it will be a great starting point for your project. Safety information can be obtained from a professional.
Softwood is a good choice
Hardwood and softwood are the two main types of wood. Hardwoods such as maple, oak, or hickory are excellent for turning. Softwoods on the other side are more suitable for carving. European yew can be used to make bows and other musical instruments. Softwoods are better for crafting furniture. Engineered woods like yellow pine are not suitable for turning.
The problem with softwoods is their tendency to retain pitch pockets. This can cause problems for your finished work. This wood can leak pitch even after air-drying, so you must protect your clothes and other surfaces from being soiled with wood pitch. It's best to use pre-stain conditioner before applying any stain to softwood. Pre-stain conditioner is a thick coat that soaks into the wood's fibers. It acts as a barrier between the wood's porous regions and the wood itself.
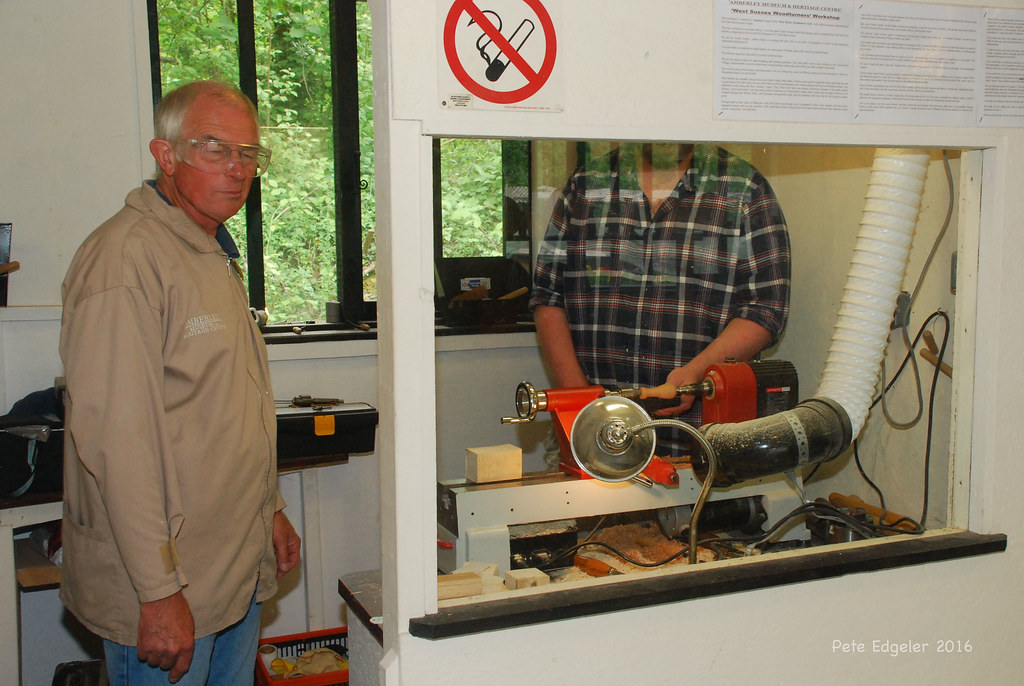
Limit speed at the lathe

Wood turners generally agree that the maximum speed of a lathe for a given diameter should range between 6,000 to 9,000 rpm. However, there are many things to consider. Generally, if the piece is three inches in diameter, the speed should be 2,000 rpm, while a work piece of ten inches would be closer to 600 rpm. A limiting factor for lathe speed is the amount of vibration the work piece can withstand, so a lower RPM is best.
Choosing the right lathe speed should allow you to turn your blanks without vibration. If your workpiece is small, it may be easier to use a low speed setting. Smoother work will be achieved with higher speeds, and vice versa. To find the correct speed for your woodturning project, experiment with different speeds to find out which works best. Generally, higher speeds will produce a smoother finish.
Useful tools
This list contains some of the most important tools for woodturning projects. A skew can be described as a tool with an edge that cuts wood. This tool is great for cutting long ribbons out of wood. Furthermore, a Skew Chisel is more effective for creating a smooth and flat surface to turn bowls and spindles.

Investing in a quality set of tools is essential for your woodturning project. A cheap set of tools won't be as effective as quality ones. They don't hold a sharp edge. You should also make sure that you purchase a sharpening system, especially for high-speed steel. A grinder that is at least 8 inches in diameter will make sharpening your steel easier.
FAQ
What type of wood should I choose?
Woodworking is a popular job that involves oak, pine and maple. Every type of wood is different and can have a unique look and feel that will affect the final product. Oak is a darker wood and tends to be more durable than other types. Birch is soft and lightweight, while mahogany is denser and heavier. There are two options: solid wood and veneers. Veneers can be described as thin sheets of wood that have been glued together in one layer.
Is there a way to start my own woodworking company?
Starting your own woodworking business isn't easy. There are lots of legal requirements and regulations that you'll need to follow. It doesn't mean that you have to go through the entire process of starting a business. Many people opt to join existing businesses instead. You will only have to pay membership fees, taxes, and other charges.
Can I refinish furniture that I make?
Yes! There are many different ways to refinish older furniture without the need for professional help. Here are some suggestions:
Use sandpaper to remove scratches and stains. Then wipe down the surface with a clean cloth.
Apply clear polyurethane paint. Allow furniture to dry completely before you move it around.
Use acrylic paint to paint furniture.
Instead of using paint, stain is a better choice. You can give your furniture a rich appearance with stain.
Shellac wax can be applied. Applying wax will give the wood shine and protection.
Statistics
- Overall employment of woodworkers is projected to grow 8 percent from 2020 to 2030, about as fast as the average for all occupations. (bls.gov)
- If your lumber isn't as dry as you would like when you purchase it (over 22% in Glen Huey's opinion…probably over 10-15% in my opinion), then it's a good idea to let it acclimate to your workshop for a couple of weeks. (woodandshop.com)
- Average lumber prices rose about 600 percent between April 2020 and May 2021. (familyhandyman.com)
- The best-paid 10 percent make $76,000, while the lowest-paid 10 percent make $34,000. (zippia.com)
External Links
How To
How to stain wooden surfaces
The process of staining wood involves the application of chemicals to the wood's surface, which causes it to change its color. This chemical reaction causes the wood to change from white to brownish red. Oak is the most commonly used wood for staining, but other woods can also be stained.
There are many options for applying stains to wood surfaces. Some methods include mixing the stain along with a solvent like turpentine and then applying the mixture to the wood by brushing or spraying. Others use a solution made up of water and dye, which is then applied directly onto the wood. You can also mix stains with varnishes or paints so that they become part the finish coating.
Preparing your wood for staining is the first thing to do. Clean the wood to get rid of any grease, dirt or other substances that might be detrimental to the stain's application. Sanding smoothens scratches and rough spots. The next step is to determine the type of stain you would like to use. There are two main kinds of stains available: non-penetrating stains and penetrating. Penetrating colors penetrate deeper into wood than those that are non-penetrating. This makes them more suitable for darker colors, such as mahogany. Non-penetrating oils work best when used with light colors, like maple.
After deciding on the type of stain, you want to apply, prepare your tools. You can use a paintbrush to apply stains. This allows you spread the liquid evenly over the surface. A few rags are also handy to clean up any spillages after you have finished painting. If you are planning to mix your stain, ensure you have enough containers for each component.
After you have prepared the materials, you can clean the area where you want to stain the wood. To remove dirt and dust, use warm water and soap. Use a dampened rag and clean water to wipe the furniture. If you intend to stain darker wood, make sure you get rid of any debris.
The stain should be applied next. Start at one end of the piece of furniture and brush or spray the stain onto the wood. Slowly and carefully move along the grain of wood, slowly but steadily, until you reach the other end. You must be careful not to allow the stain to drip off the wood's edges. Before moving on to the next steps, allow the stain drying completely.
Protect the painted surface with a coat polyurethane paint sealant. Apply three coats polyurethane sealer. Allow the third coat to dry overnight, before sanding.