There are several types of joinery timber. These include the Mitered butt, Tongue and groove, and pocket-hole joints. Let's have a closer look at each one. You'll be able to build a beautiful table once you understand the basics of each one. This article will guide you through the most popular joinery wood methods. This article will help you feel confident and more informed about their advantages and applications.
Mitered butt joint
The common type of joinery used for joining pieces of wood is the mitered, butt joint. This joint uses two boards with 45-degree cuts on both ends to form a 90-degree corner. This joint is useful for creating irregular shapes. Its strength can be compared to a traditional butt joint made from wood. However, it is less strong than edge to edge joints.
You can glue or nail a mitered butt joint. To avoid splitting, you should drill a pilot hole prior to mitering. Alternatively, you can use a pin nailer, a pneumatic tool that uses tiny brad nails to hold the wood together. These nails leave only a small head, so they are not visible once the wood has been screwed in place.

Joint with mitered groove
A mitered groove joint made from joinery wood is 45 degrees in angle. You can create a miter joint by laying the two pieces of wood together, and cutting the grooves while the wood is still square. It is safer and easier to cut the grooves when the wood has not yet become square. After the grooves have been cut, insert a spline in the gap. Place the spline in place by gluing, nailing, or screwing it.
Another variation on the biscuit joint is the Mitered groove joint. You create it by carving a groove on one of the pieces of wood and then glueing them together. This joint is often used to create solid panels from different types wood. Because the joinery itself is invisible, it may be more difficult for people to identify than a standard wood joint. A biscuit joint is best if it is cut on the same side as the piece of wood being joined.
Tongue and groove joint
The common tongue and groove joint in joinery is the most popular, however there are many methods to make it. A table saw, for instance, is an excellent choice for this type of joint because it can create the joint with a single blade on the grooves and a dado stack in a single pass. A router table can, on the contrary, be fast and efficient. It allows you to match bits to make tight tongue and groove joints.
A tongue-and-groove joint is a great way to join similar pieces of wood. This type joint is most commonly found in high-quality cabinets, but it can also serve other purposes. This joint is used by some wood flooring as well as architectural panels, cabinet doors, and faces frames. Because it is so simple to assemble, some people even use it for drawer tracks. If you're not confident with tools and can't afford to hire a joiner, you can make your own with a simple plane or saw.

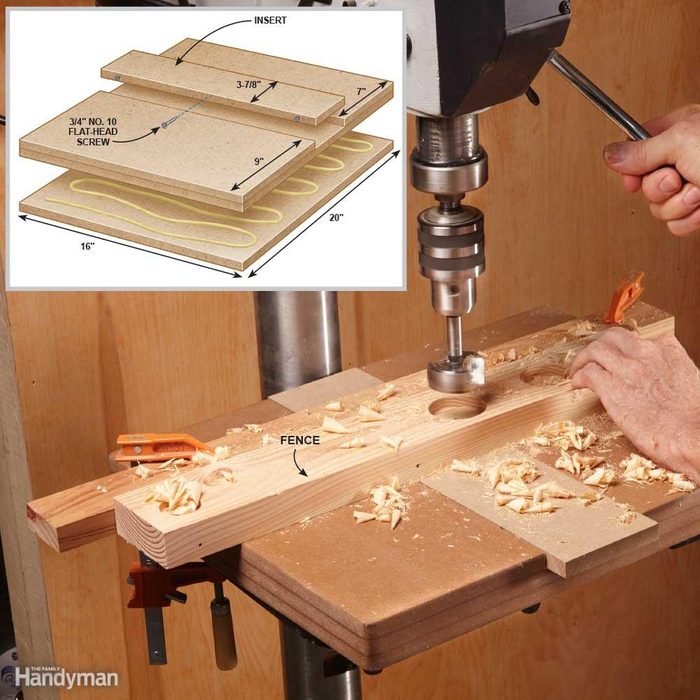
Pocket-hole joint
Wood is the most popular type of pocket-hole joint. It can be used to the edges and faces of the wood. It can't be used on the edge grain. For a perfect fit, it is essential to understand how pocket-hole joining works. For beginners, pocket hole joinery is the easiest method to create a pockethole joint.
It is easiest to make a pocket-hole joints by drilling a small hole in a piece if wood. This tool allows you drill holes at an angle of 15o. A cordless drill is required to use a Pocket-hole Jig. You can also use the Porter-Cable P560 pocket-hole tool.
FAQ
Are there any tips for starting a woodworking enterprise?
It takes a lot of effort to start a woodworking business. You won't mind working hard if your hobby is something you love. You might even enjoy running your own business.
When you are launching a new venture, it is important to be aware of the possibility that you will encounter unexpected difficulties. You might run out money, or you may have to borrow unexpectedly. Or you might find that your customers aren’t willing or able to pay as much you had hoped. You must be ready to deal with such situations in order to survive.
Set up a separate account in your bank for your business. You'll be able to track how much money comes in and out.
How much does a hobbyist need to invest in getting started?
You will need capital to purchase the tools and supplies you need to start your woodworking business. Start by getting a small circular saw saw, drill press or circular saw. These items don't cost much so they won't break your budget.
What else should I know about woodworking in general?
It is easy to underestimate the amount work involved with furniture construction. Finding the right wood is the hardest part. There are so many options for wood, it can be difficult choosing the right one.
A problem is that wood doesn't have the same properties. Wooden can split or crack, while some woods may warp. These factors should be taken into account before buying wood.
How much should a woodworker charge per hour?
The hourly rate paid to a professional woodworker is dependent on many factors. These include skill level, availability, and location.
The hourly average rate for skilled woodworkers runs between $20-$50.
A woodworker with less experience may be able to charge $10 an hour.
How much money do you need to get going?
Since every project differs, it is impossible to give exact numbers. Here are some factors to help you estimate how much money you will need.
-
Material cost
-
Tools and equipment
-
Time spent on the project
-
Hourly rate
-
What amount of profit can you expect to make?
-
No matter if you are looking to hire someone
If you're just starting out, you may decide to start small by making simple items such as boxes and picture frames. You'll become more proficient as you get experience.
What would you recommend as a starting material for woodworking?
Start off with softwood like pine and poplar. You will feel more comfortable with these softwoods, so you can move onto hardwood.
Statistics
- Woodworkers on the lower end of that spectrum, the bottom 10% to be exact, make roughly $24,000 a year, while the top 10% makes $108,000. (zippia.com)
- The U.S. Bureau of Labor Statistics (BLS) estimates that the number of jobs for woodworkers will decline by 4% between 2019 and 2029. (indeed.com)
- If your lumber isn't as dry as you would like when you purchase it (over 22% in Glen Huey's opinion…probably over 10-15% in my opinion), then it's a good idea to let it acclimate to your workshop for a couple of weeks. (woodandshop.com)
- Overall employment of woodworkers is projected to grow 8 percent from 2020 to 2030, about as fast as the average for all occupations. (bls.gov)
External Links
How To
How to use a handsaw correctly
Hand saws are used for cutting wood into pieces. These saws are most commonly used to cut wood into pieces. A handsaw is a tool made of metal or plastic that cuts material like wood, plastics, metals and others.
A hand saw has the advantage of being able to cut at any angle and without having to adjust the blade. It's also much easier to sharpen them than power tools. However, there are some disadvantages as well. They can be very heavy and bulky so it is important to take care when you transport them. It is possible to injure or damage your own body if the instructions are not clear.
There are many ways that you can use a handsaw. When you are cutting, your hands should be kept away from the blades. If you don't, you might get hurt. When holding the saw, you should place your fingers around the handle, keeping your thumb up near the top of the blade. This way, you won't accidentally touch the blade.
When using a hand saw, you should never put anything under the piece of wood you're cutting. This would result in the blade slipping off the wood's surface. Always check the area where you want to cut before starting. Make sure there are no nails, screws or other objects under the wood.
Safety goggles should be worn when using a handsaw. Safety glasses protect your eyes from dust and make it easier to see what the hand saw is doing. Safety glasses protect your head from flying debris.
First, learn how to safely use a hand saw. Then, practice until you feel confident enough to start cutting things. Once you are comfortable with the basics, you will be able cut almost any material.